Make a Plan
The Degree Works Student Educational Planner (SEP) is an advising tool that students and advisors can use to map out a clear pathway for timely degree completion. Advising plans created in SEP will show students the required courses within their program(s) and a recommended timeline of when they should be completed.
Go to the Plans tab on the DegreeWorks site.

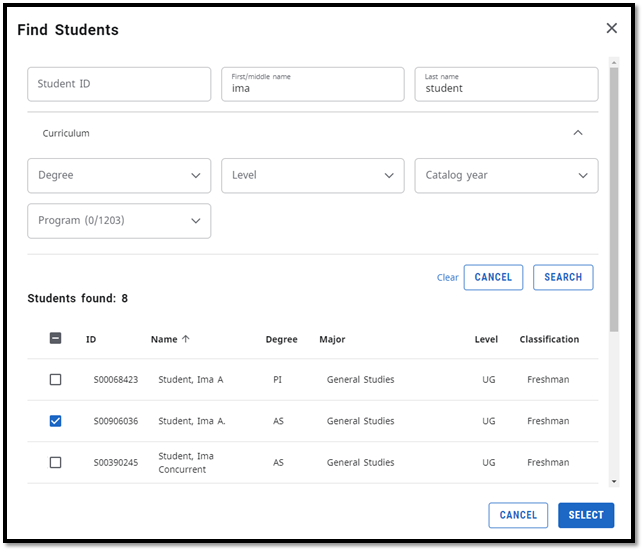
Enter the Student ID or Use the Advanced Search
Note: Unselect the student(s) you do not want to see.
- Click New Plan Button in right-hand corner
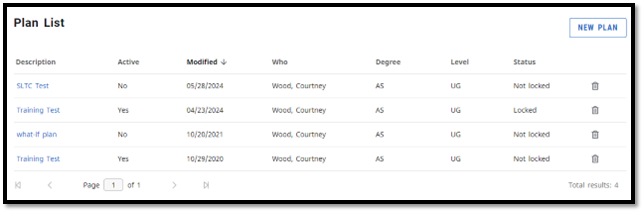
- Click Blank Plan Button

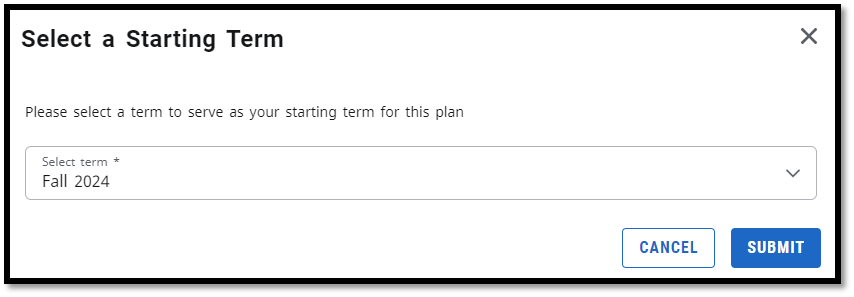
- Select a Starting Term
Note: This cannot be edited once the plan starts. You would need to create a new plan.
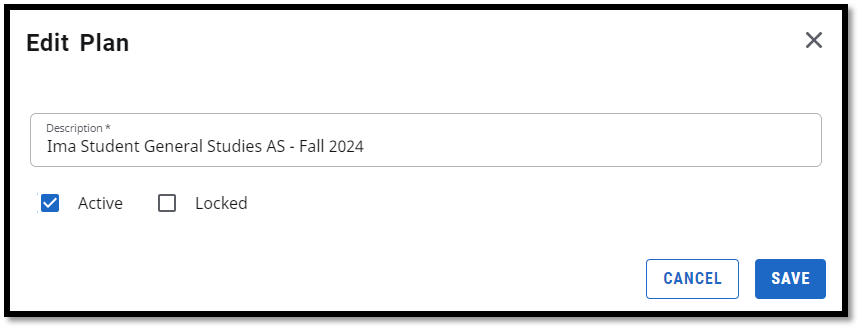
- Name the Plan
It is recommended that the name entered into the description can distinguish the plan by degree and start term for clarity. Select Active if you would like to track the student’s progress. Select Locked if you do not want the student to make changes. Both active and locked must be chosen to display if the student is “On track” (has taken courses that were planned). Note: You can only have one active plan at a time.
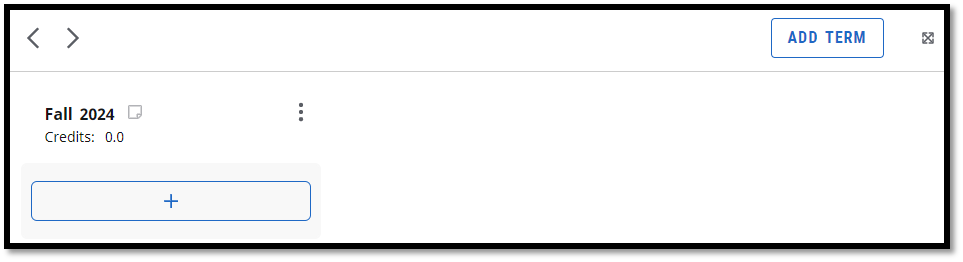
You can add other terms to the plan to continue mapping out the student’s coursework.
- Select Add Term on the right side of the screen.
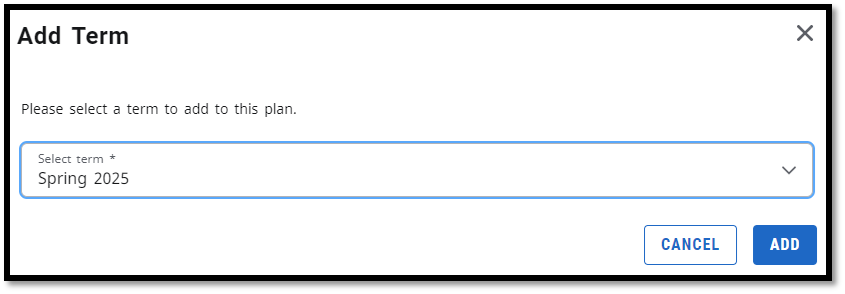
- Use the drop-down to select the term for the plan. Select Add.
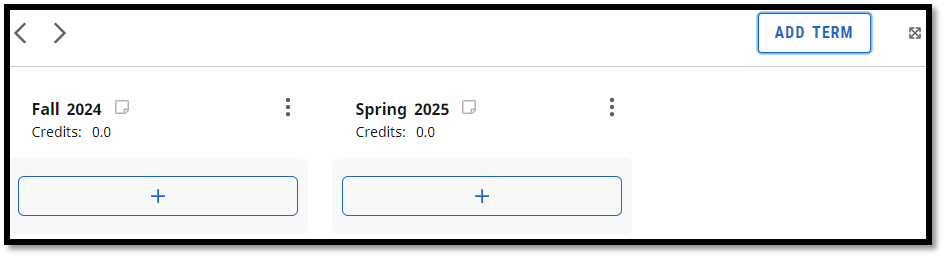
- The term will appear on the plan. Repeat the process to add more terms.
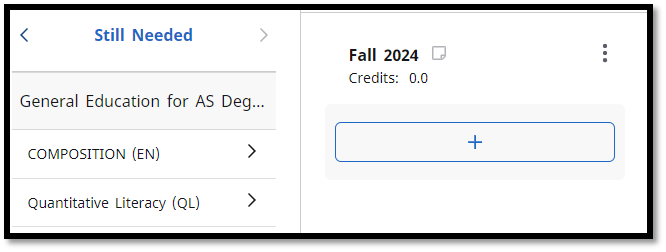
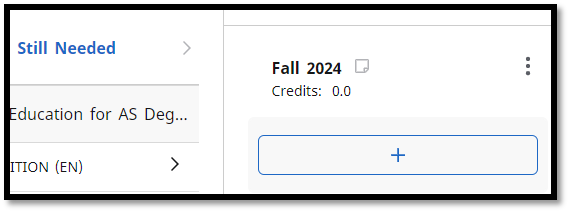
- On the left side of the screen you will see the categories for the degree requirements that are still needed. Select the arrow next to the category to view the courses.
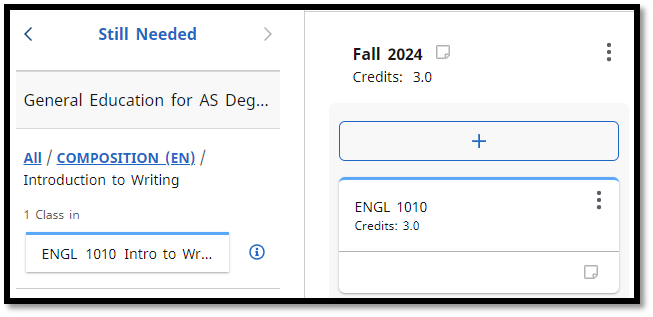
- Select the course and drag it to the + button under the name of the appropriate term.
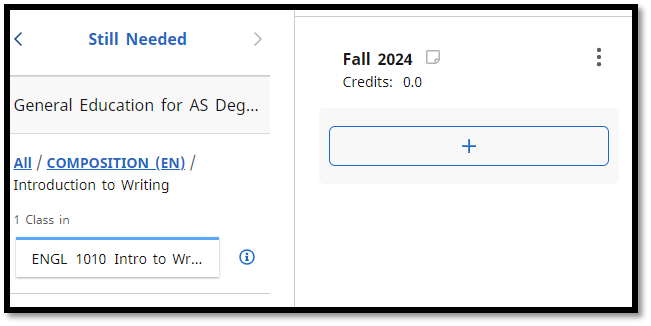
- You will see the course listed under the term. Select All to return to the full list of categories for the requirements that are still needed.

A choice requirement is used when a student can choose from multiple courses (ex. this course OR that course). A choice requirement is also used when a course must be paired with another course (ex. this course AND that course). Finally, a choice requirement is used to indicate a free elective (@ @) or other course with a “wildcard” symbol (@).
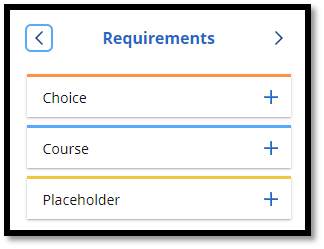
- On the left side of the screen you will see the Still Needed section. Select the left arrow.
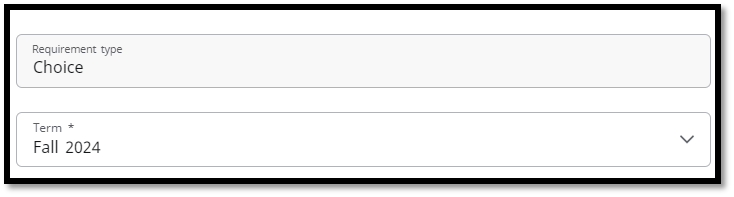
- Select the + button next to Choice
- Use the term drop-down to select the appropriate term.
- Add a course by searching course name or subject/number. You can also add a requirement based off Attribute (if applicable).
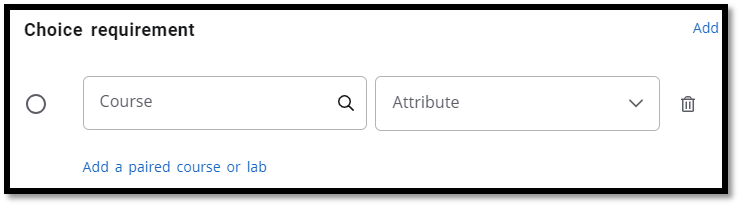
- Select Add if you need another course.
- Optional: Enter the number of credits.
- Select Save.
- Select the + button under the name of the appropriate term.
- The degree requirements that are still needed are listed. Browse through the list or use the Subjects drop-down and Search by title field to search for a specific course. You can also select Courses is you would like to search from all courses.
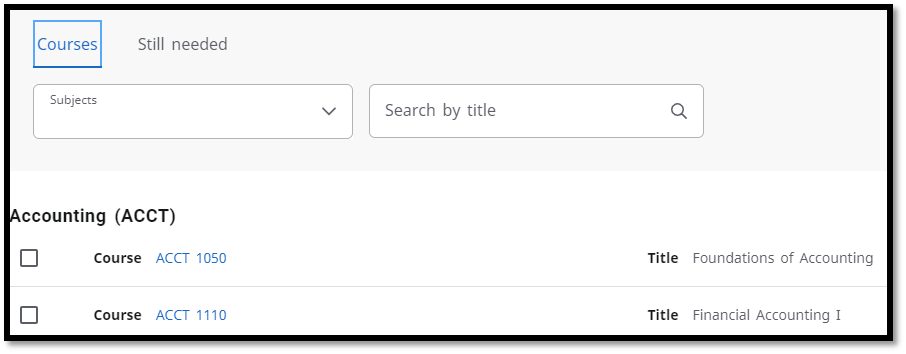
- You may need to select the down arrow to expand a section. Select the check boxes for all of the courses you would like to add to the plan.
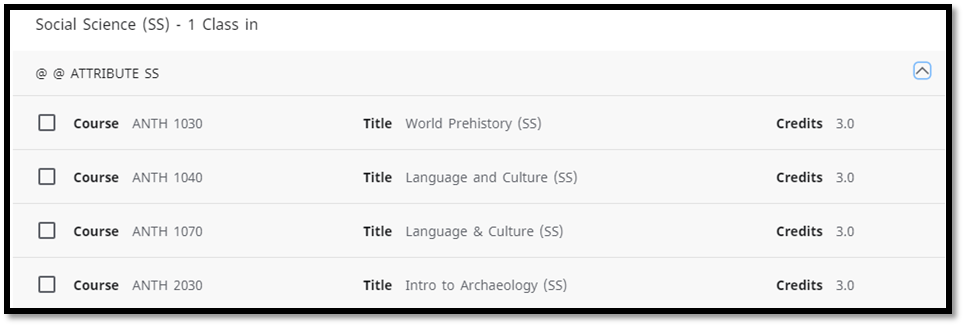
- Scroll to the bottom of the window. You will see the courses you have selected. Select the X next to the course if you no longer want to add it to the plan. Select Add to Plan.

- All the courses will be added to the appropriate term.
You may need to make adjustments to the plan you created of the template you chose.
Reassign Requirements
You can move requirements between terms by selecting the requirement, then dragging and dropping it into the appropriate term.
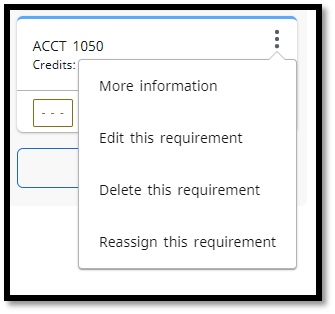
You can also select the ellipsis for the requirement the select Reassign this requirement.
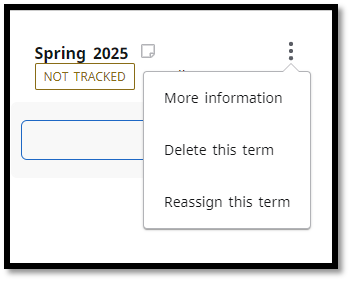
Reassign or Delete a Term
You can reassign or delete an entire term at once. Select the ellipsis for the term then select Delete this Term or Reassign this term.
Edit or Delete Requirements
Select the ellipsis for the requirement then select Edit this requirement or Delete this requirement
If a students plan is active and locked, then the template will track whether the student is on track with the template. Only past coruses and courses in a current term will display as on track of off track. Future terms will not be tracked. Review the plan to determine whether a student’s registration is “on-track.” Under the course name you will see, “On-track” or “Warning.”
On-track designates the students has met the requirement.
Warning designates the student has not met the requirement (not taken, failed, withdrawn, etc.)
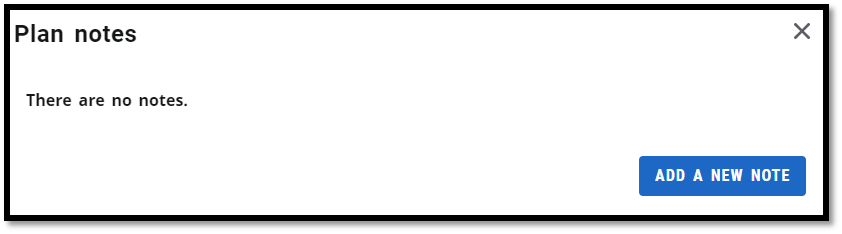
You can add a note to a plan, a term, or a course.
- Click the sticky note image by the plan name

- Click Add a New Note button
- Enter note into the textbox and click the Save Note button. Notes cannot be edited once saved. You would need to delete the note and add a new one to replace it.

- Select the ellipsis to View or Delete note
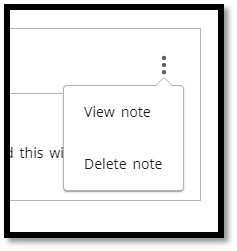
- Once a note is added the note icon color changes from gray to blue on the plan.